DIY Cookie Decorating Tips for Your Next Event


Set the Stage for Success
When planning a DIY cookie decorating event, preparation is key. Start by selecting a theme that fits your occasion, whether it's a birthday, holiday, or casual get-together. This will guide your choice of cookie shapes, colors, and decorations.
Gather all your supplies in advance, including cookie cutters, piping bags, and a variety of sprinkles. Having everything organized will help the event run smoothly and keep participants focused on having fun.
Selecting the Perfect Cookie Recipe
The foundation of any great cookie decorating event is a delicious cookie. Opt for a recipe that yields firm, flat cookies to provide a sturdy canvas for your decorations. Classic sugar cookies or gingerbread are popular choices that hold their shape well during baking.
Consider offering a few flavor variations, such as vanilla, almond, or chocolate, to cater to different tastes. This will add an extra layer of enjoyment for your guests as they choose their favorites.
Mastering the Icing
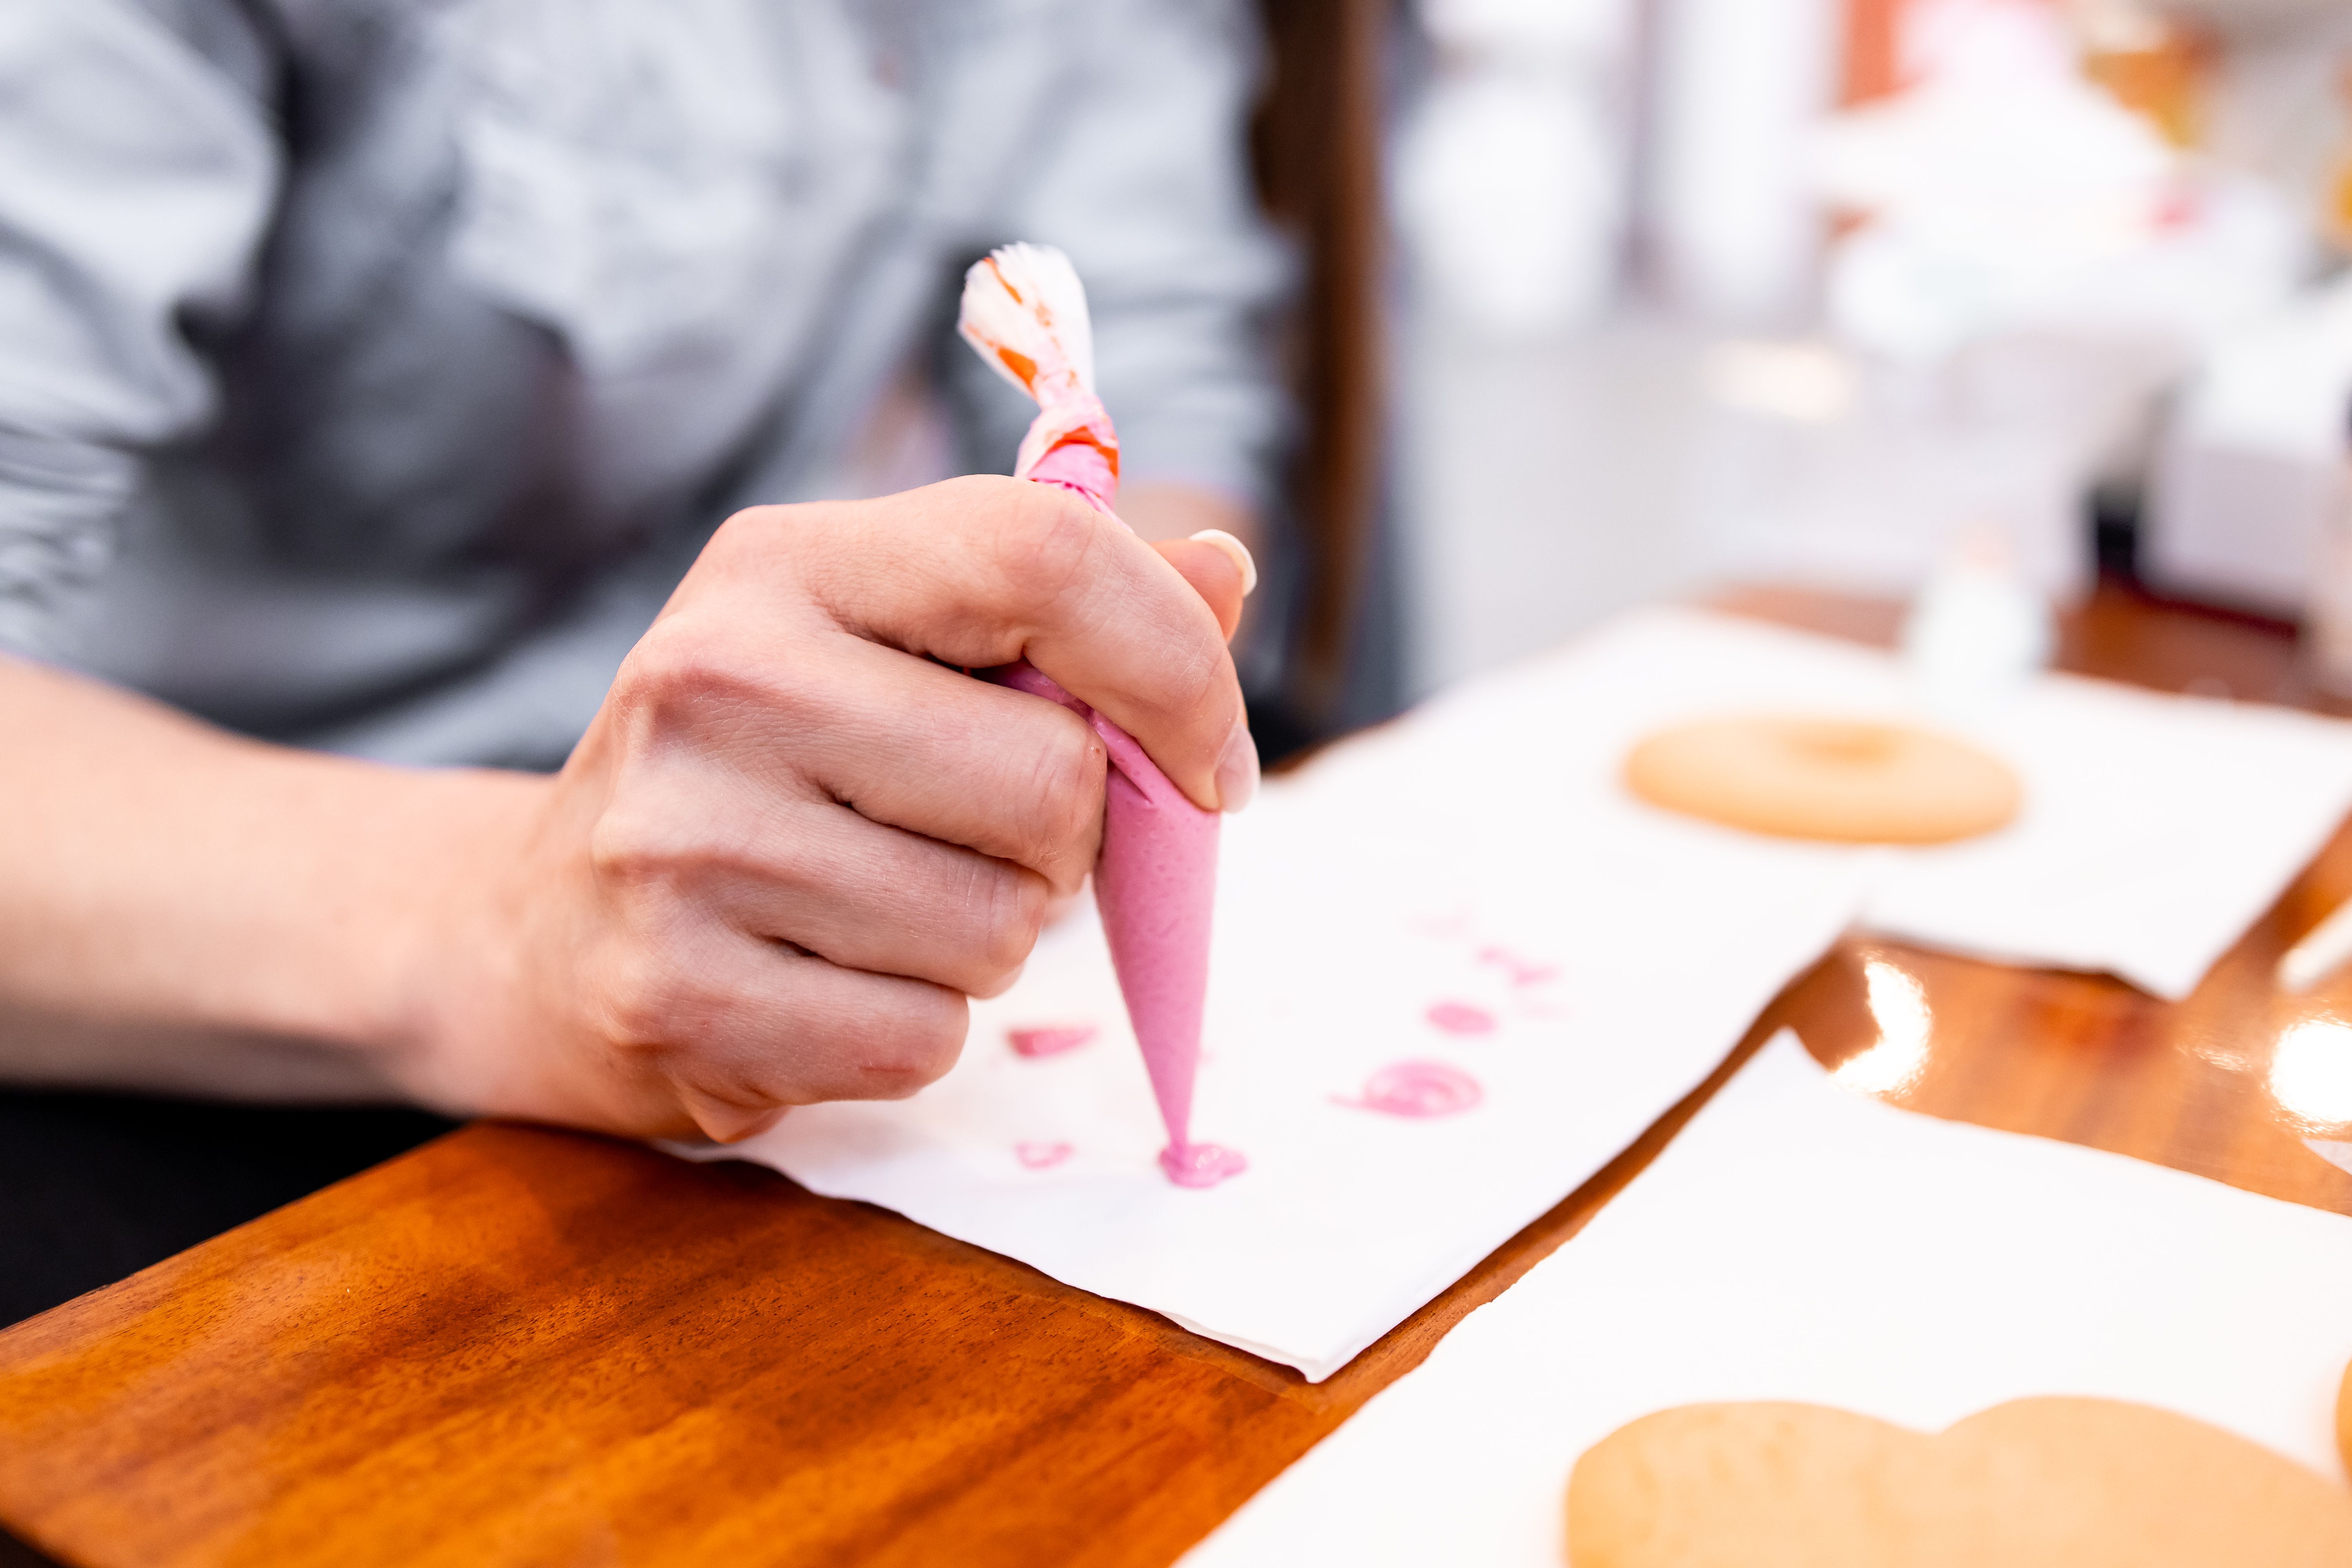
Icing is where the magic happens. Royal icing is the preferred choice for cookie decorating due to its smooth finish and quick-drying properties. It can be adjusted for different consistencies, from thick for outlining to thin for flooding.
Divide your icing into separate bowls and use gel food coloring to create a palette of vibrant colors. Encourage your guests to experiment with mixing shades to achieve the perfect hue.

Tools of the Trade
Investing in a few key tools can elevate your cookie decorating experience. Piping bags and tips come in various sizes and are essential for creating intricate designs. Toothpicks or skewers can help with detail work and smoothing out icing.
Provide a selection of edible decorations like glitter, pearls, and sanding sugar. These can be used to add texture and sparkle, making each cookie a unique work of art.
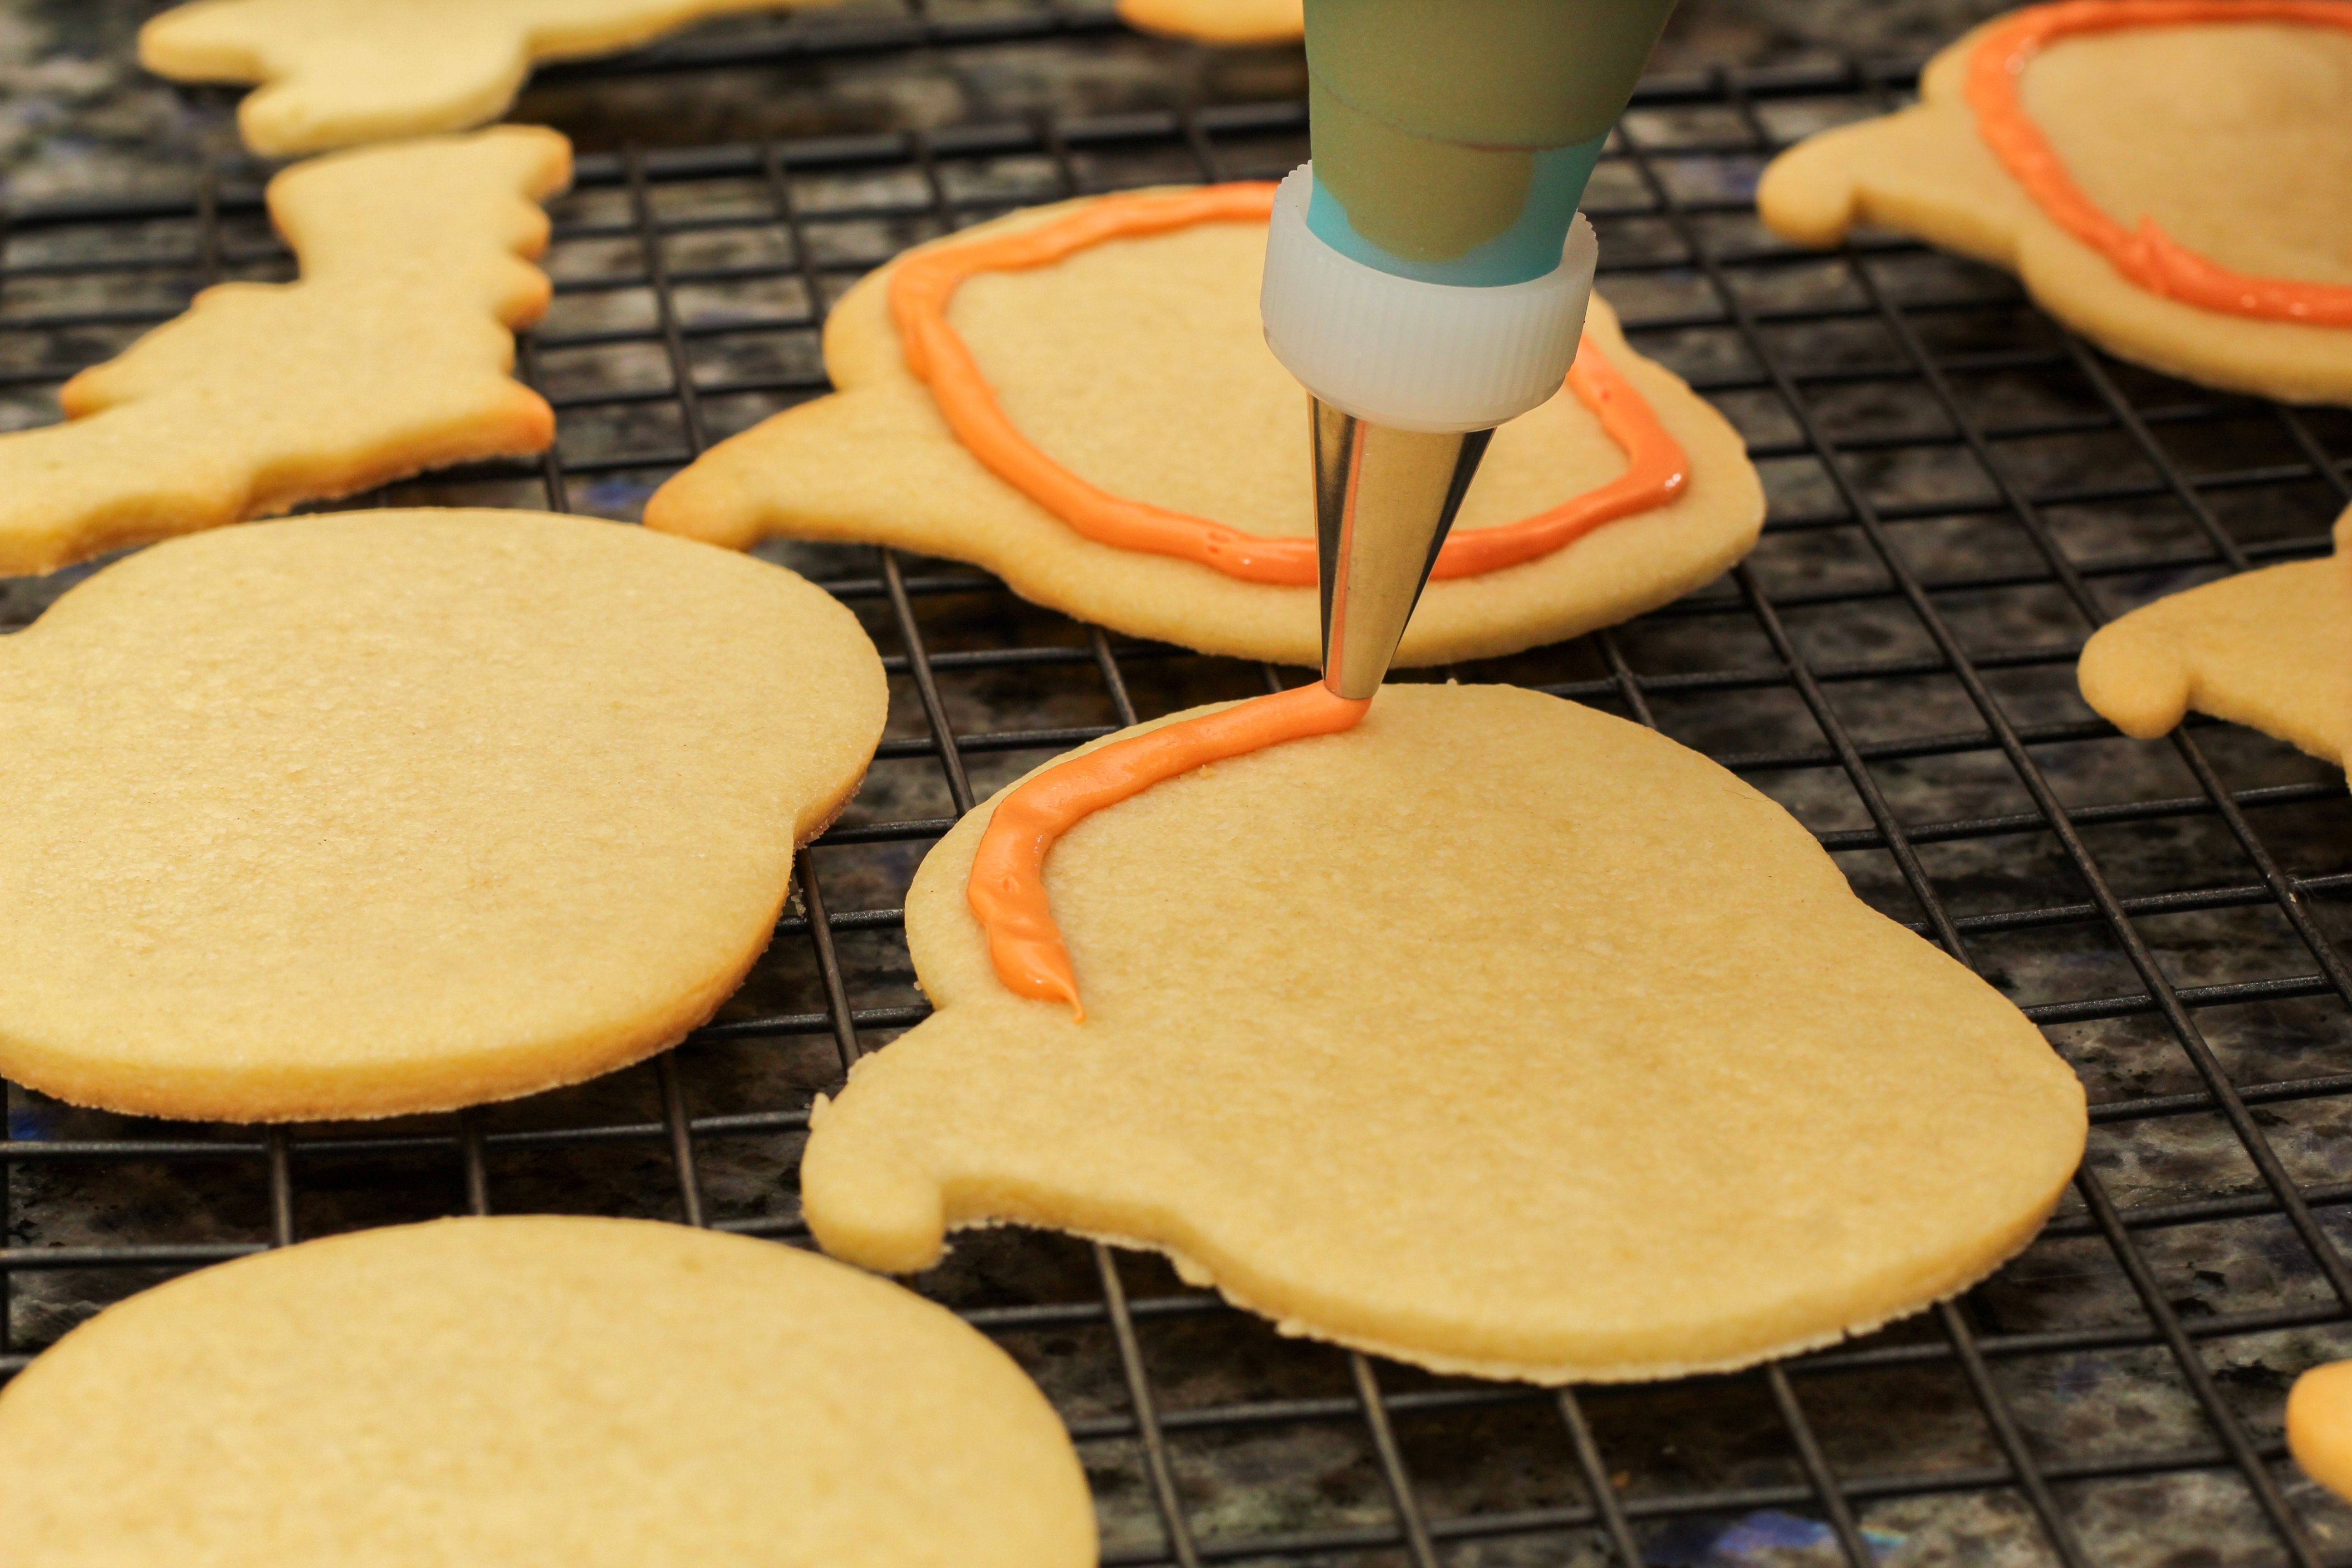
Techniques for Stunning Designs
Teach your guests some basic decorating techniques to get started. Outlining and flooding are foundational skills that create a clean look. Once mastered, try more advanced techniques like marbling or adding dimension with layered icing.
Encourage creativity and remind everyone that practice makes perfect. The goal is to have fun and enjoy the process of creating something beautiful and delicious.
Organizing a Fun and Engaging Event
Set up decorating stations with all the necessary supplies and plenty of space for each guest. Play some music and offer refreshments to create a festive atmosphere. Consider having a contest for the most creative cookie to add a competitive edge.
Take photos of the finished cookies to document the event and share them with your guests afterward. This not only celebrates their hard work but also provides inspiration for future events.
Cleanup and Storage Tips
After the decorating is done, have a plan for easy cleanup. Use disposable tablecloths and have plenty of wet wipes on hand to tackle sticky icing spills. Encourage guests to take their creations home in decorative boxes or bags.
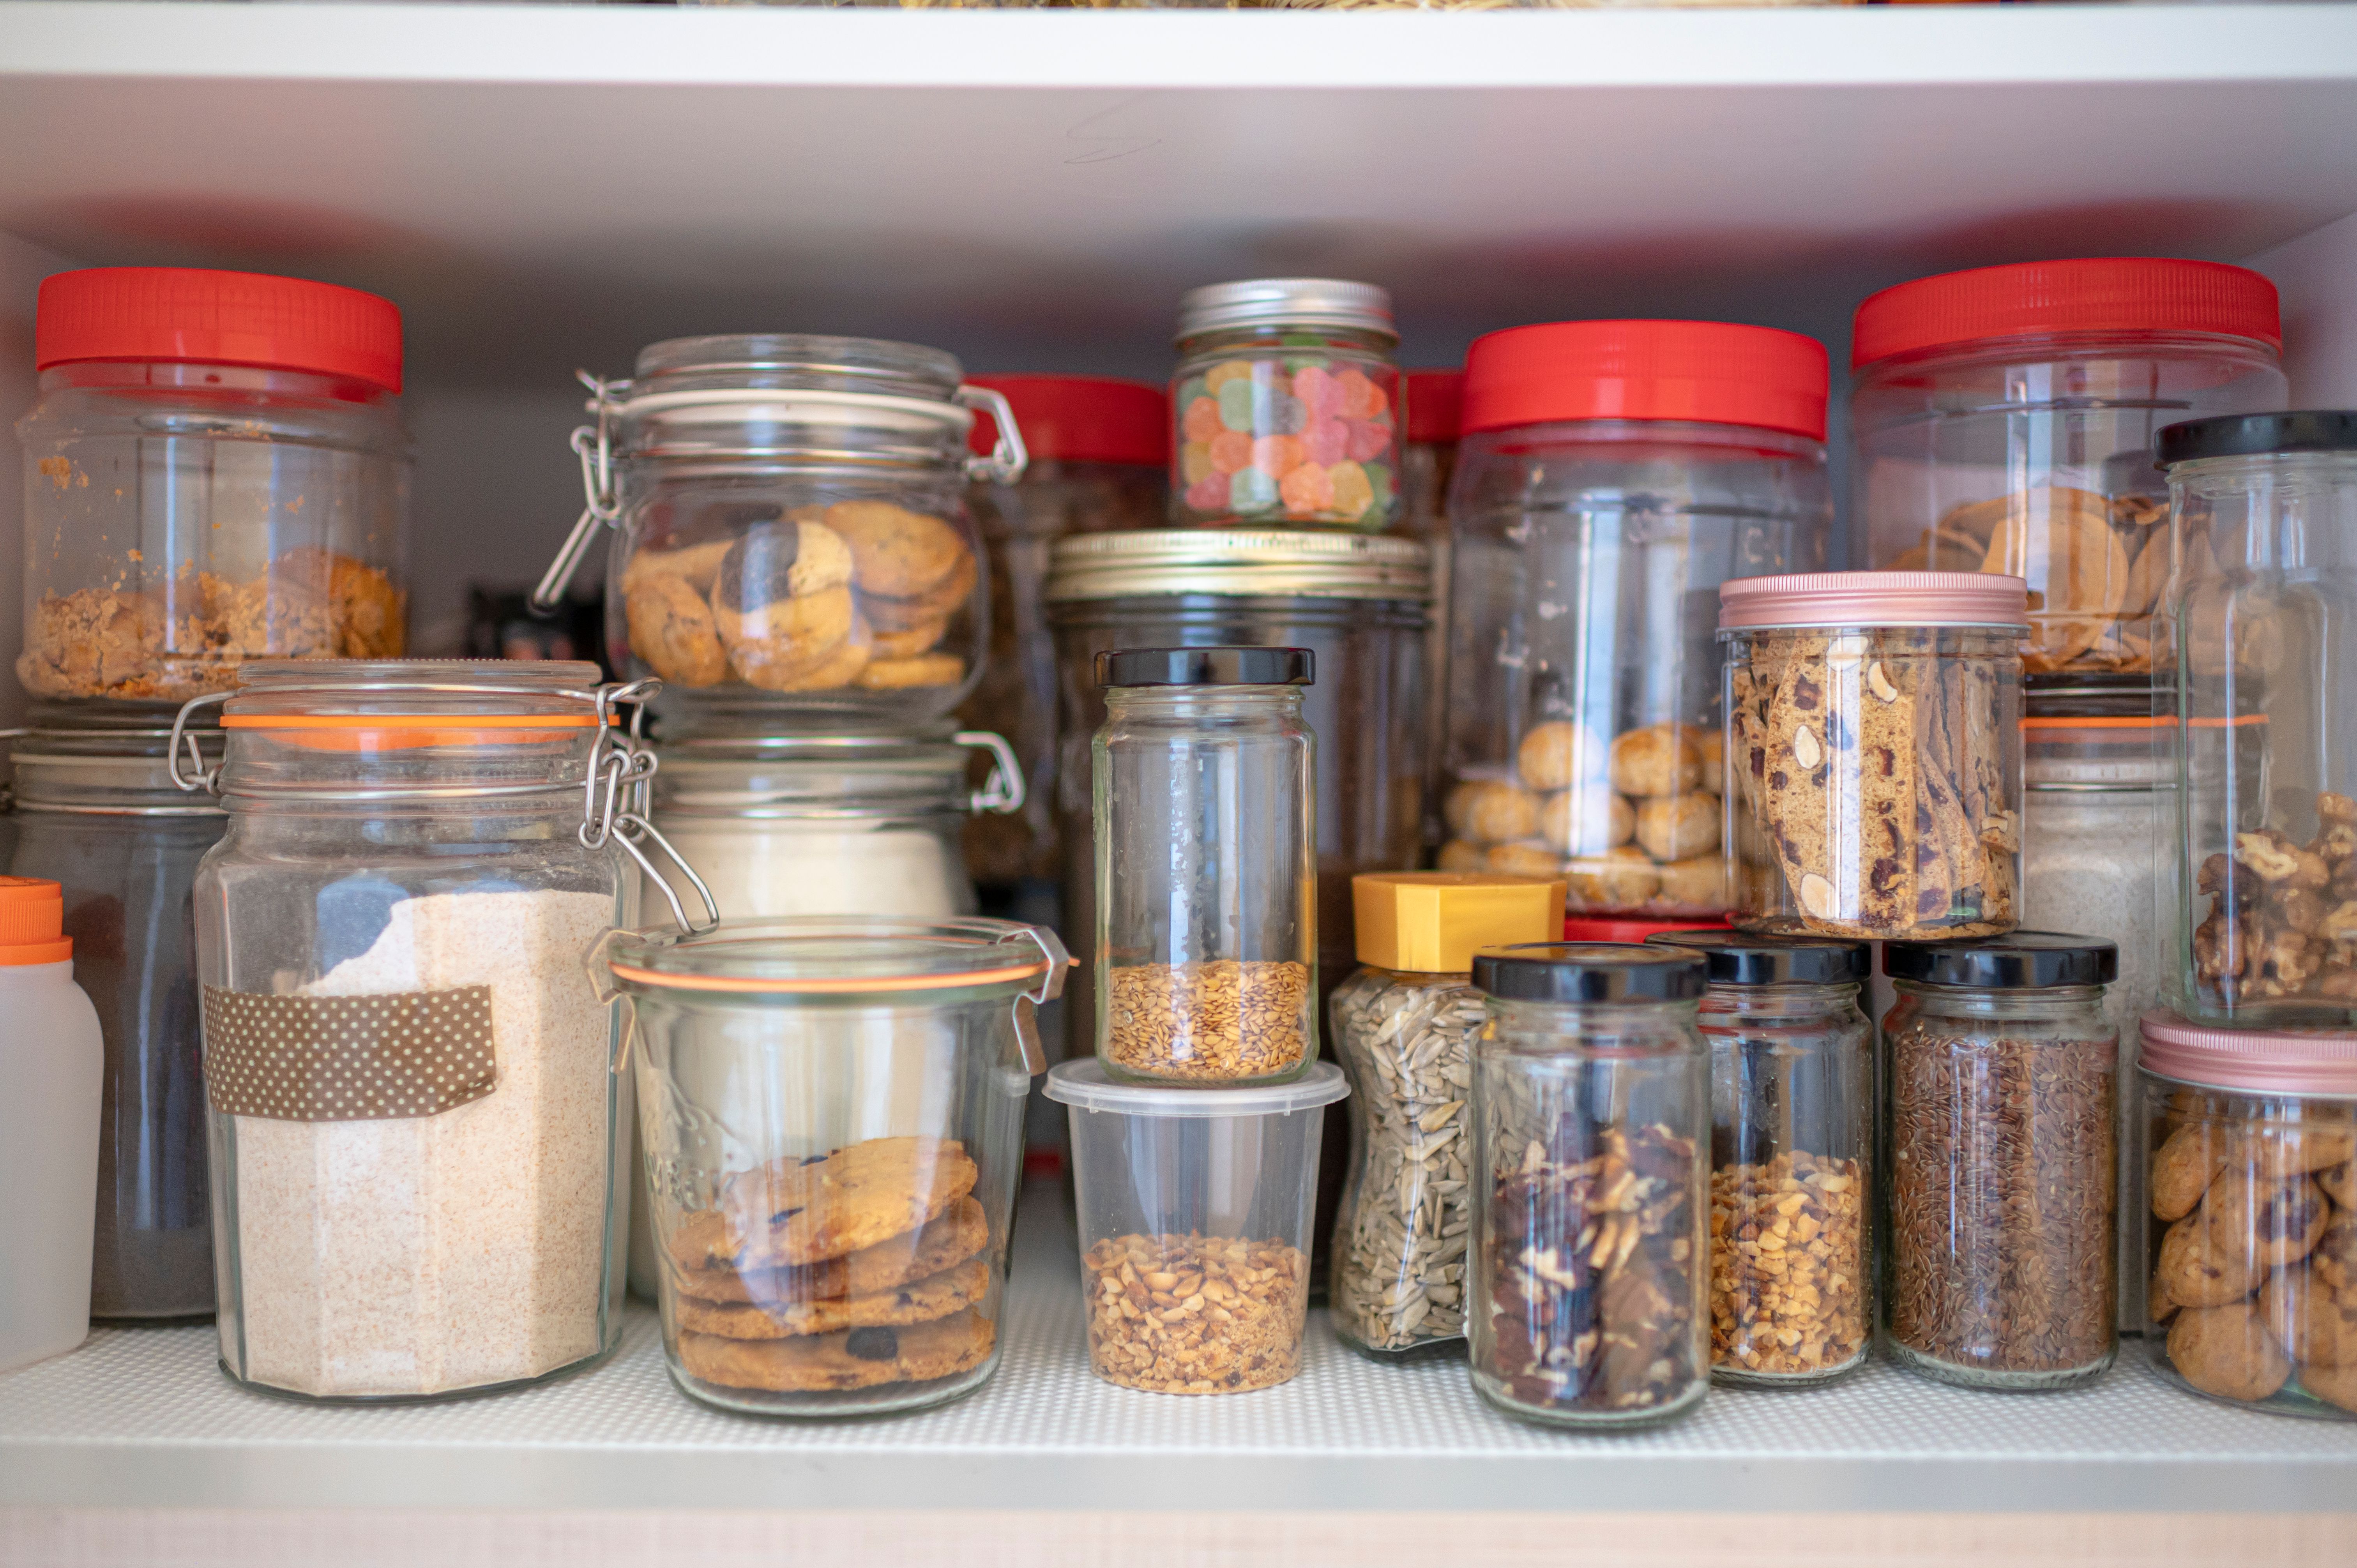
Properly storing leftover cookies will ensure they stay fresh. Keep them in an airtight container at room temperature or freeze them for longer storage.
Conclusion: A Sweet Success
With the right preparation and a touch of creativity, your DIY cookie decorating event will be a memorable and enjoyable experience for all. It's a delightful way to bring people together, celebrate special occasions, and create lasting memories.
Whether you're a seasoned baker or a novice, these tips will help you host an event that leaves everyone with a smile and a sweet treat in hand.